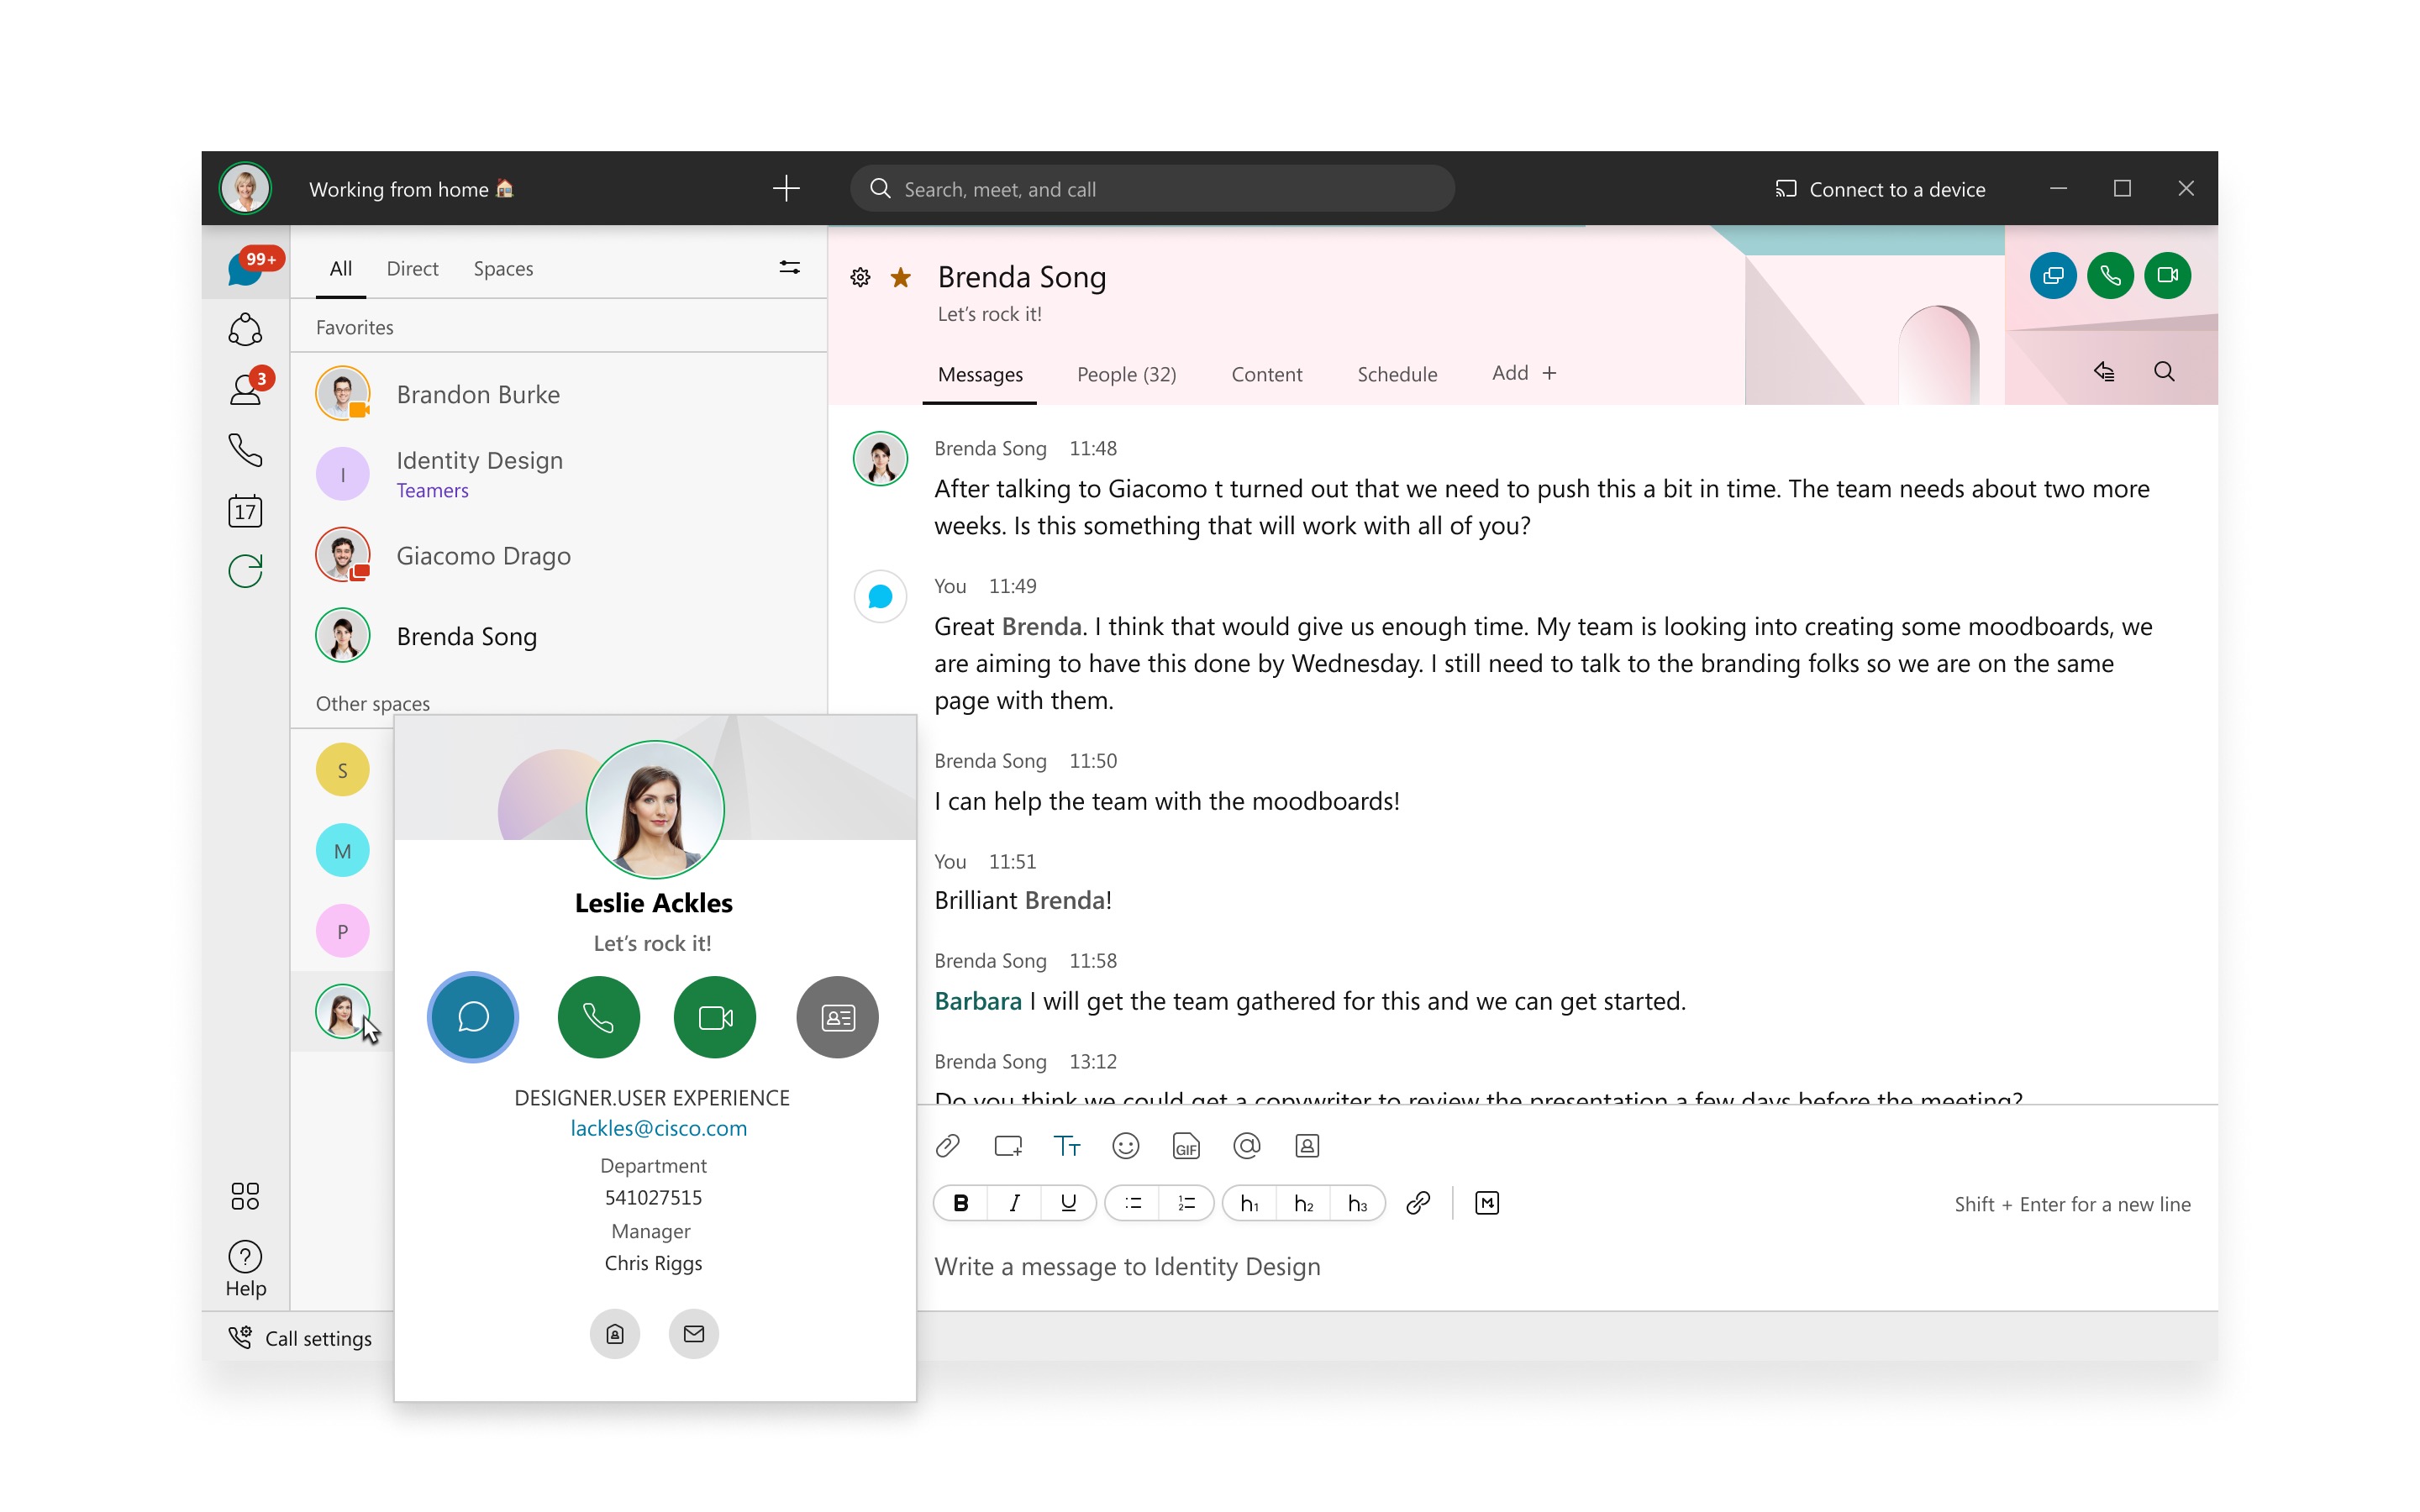
If you have been working from home like me since the start of March 2020, you have come to rely on tools like Webex Teams, Microsoft Teams, Slack and other channel style collaboration tools to keep in touch with your team and keep projects and tasks moving. I've been looking to find ways to let Home Assistant be my "Work from Home Assistant" during the business hours. For my workplace we use Cisco's Webex (formally known as Webex Teams, formally known as Cisco Spark) for all of our collaboration.
If Home Assistant can use my actual Webex status as a sensor, it opens up powerful automations surrounding the average work from home day. For example when I'm in a meeting or a phone call: Home Assistant can silence any Text to Speech announcements, pause music playing on Spotify or other media players, and even turn on an indicator light that I'm busy.
Fortunately,Cisco has provided an easy to use extensive REST API for accessing information from Webex and with Home Assistant's Command Line sensor, it makes this super simple to implement.
Working with the Webex API and getting a Webex Bot Token
We need two pieces of information from the Webex API in order to get this up and running within Home Assistant. First, you'll need to create a new Webex Bot and retrieve the unique token for this. Then using the API Docs, you want to find the endpoint for gathering information about yourself in Webex to retrieve your unique user ID from the API.
Go to https://developer.webex.com/my-apps/new/bot and log in with your Cisco Webex account.
Fill out all the necessary fields, then collect and copy the Bot Token that is generated and save for later.
Go to https://developer.webex.com/docs/api/v1/people/get-my-own-details and log in with your Webex Account again (if needed)
You should see a "Try It" button at the top-right of the webpage and a hidden "Bearer" token under the Header section. Click the Run button near the bottom.
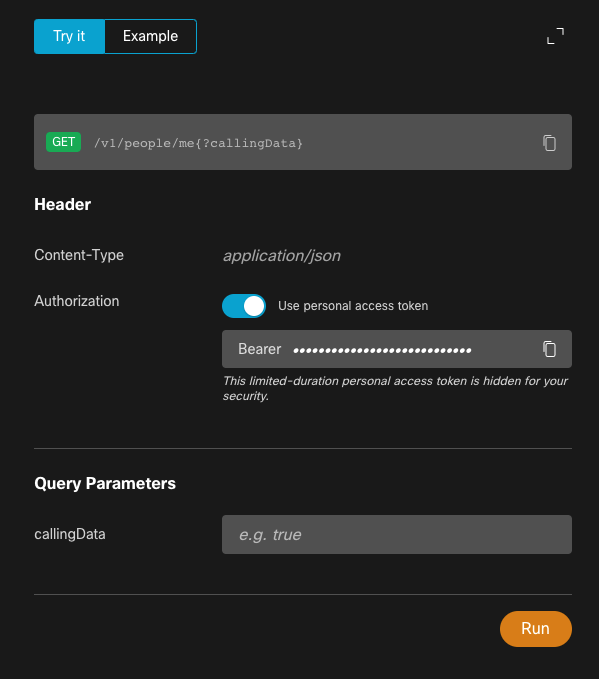
Beneath the Run button, the website should display the result of the API call. The first value is your User ID. Copy this for later.

The API call we will be focusing on is the Get Person Details API. You can see it's documentation here: https://developer.webex.com/docs/api/v1/people/get-person-details
Specifically, we will be interested in the Status key and its available values that can be returned. These values are:
active - active within the last 10 minutes

call - the user is in a call

DoNotDisturb - the user has manually set their status to "Do Not Disturb"

inactive - last activity occurred more than 10 minutes ago

meeting - the user is in a meeting

OutOfOffice - the user or a Hybrid Calendar service has indicated that they are "Out of Office"

pending - the user has never logged in; a status cannot be determined

presenting - the user is sharing content

unknown - the user�s status could not be determined
Now that we have the tokens we need, we can move on to the fun part.
Home Assistant's Command Line Sensor
One of the very useful integrations in Home Assistant is the Command Line Sensor. The Command Line Sensor allows you to run an arbitrary command as if you were running it from the command line terminal of your computer, and the output of that command becomes the sensor's values, attributes, and state.
In order to interact with the Cisco Webex REST API, we can use the command line tool cURL to perform a GET request to the API and return the JSON formatted result.
curl -H "Authorization:Bearer <my_Webex_Bot_Token_Here>" https://webexapis.com/v1/people/<my_Webex_User_ID_Here>
The result will be JSON formatted text including "Status" and the corresponding active status you have set in Webex at the moment the API was called.
Let's get it into Home Assistant!
Setup a new sensor like the following:
sensor:
  - platform: command_line
    name: Webex Status
    command: "curl -H 'Authorization:Bearer <my_Webex_Bot_Token_Here>' https://webexapis.com/v1/people/<my_Webex_User_ID_Here>"
    # Since the response is JSON, we can parse out just the Status key
    value_template: "{{ value_json.status }}"
    scan_interval: 10
Now restart Home Assistant and check for a new sensor called sensor.webex_status

Go ahead and toggle your Do Not Disturb in Webex and wait a few moments for the Command Line Sensor to call itself per the scan interval.
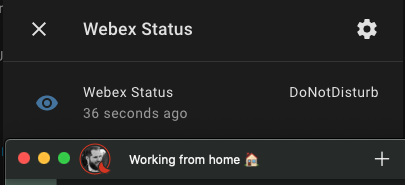
Awesome! We have our Webex status flowing into Home Assistant now as a sensor we can use in automations and conditions!
Automate!
Let's start off with a light that follows our Webex status. Create an automation that turns on a Hue Light Bulb to the corresponding color of the sensor.webex_status entity.
automation:
  alias: Webex Status Light
  trigger:
    platform: state
    entity_id:
      - sensor.webex_status
  condition:
    condition: state
    entity_id: sensor.webex_status
    state:
    # Only act if the state is one of these
      - active
      - call
      - DoNotDisturb
      - meeting
      - presenting
  action:
    service: light.turn_on
    data:
      entity_id: light.hue_color_bulb_1
      brightness: 255
      color_name: >
                    {%- if states('sensor.webex_status') == "active" -%}
                     green
                    {%- elif states('sensor.webex_status') == "call" -%}
                     orange
                    {%- elif states('sensor.webex_status') == "DoNotDisturb" -%}
                     red
                    {%- elif states('sensor.webex_status') == "meeting" -%}
                     orange
                    {%- elif states('sensor.webex_status') == "presenting" -%}
                     red
                    {%- endif -%}
As you can see we are using a template to set the color of the light to the corresponding Webex status color. This is awesome because we can create an indicator or tally light for the family if you're working from home and they need to know when you're in a meeting or on a call! This could even be far more than just a busy indicator for your home office- you could have a Text to Speech announcement or push notification to your household when your status goes from meeting to active to let everyone know you're done with your meeting.
But what if we go inactive in Webex or if we have our Out of Office on? We don't need the light then. Let's create another automation to turn the light off:
automation:
  alias: Webex Status Light Off
  trigger:
    platform: state
    entity_id:
      - sensor.webex_status
  condition:
    condition: state
    entity_id: sensor.webex_status
    state:
    # Only act if the states are one of these.
      - inactive
      - OutOfOffice
      - pending
      - unknown
  action:
    service: light.turn_off
    data:
      entity_id: light.hue_color_bulb_1
Here's a quick demo of the new automation in action!
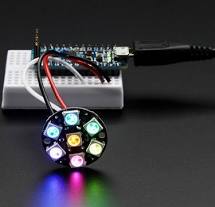
Using your Webex Status with Home AssistantThe Hue light bulb works great, but I will likely build a few indicator lights with something like these small WS2812 Addressable LED boards attached to a NodeMCU or Wemos D1 Mini (or other ESP8266 style board) running WLED
Update - Inovelli Red Switch and Dimmers

I discovered the Inovelli Red Series of Switches and Dimmers and these have a configurable LED that we can use in Home Assistant as well as scene control capabilities. I'm now using one of these switches for my Webex Status indicator. You set the LED color using the Z-Wave Parameters. Here are my new automations using this switch:
automation:
  alias: Webex Status Light
  trigger:
    platform: state
    entity_id:
      - sensor.webex_status
  condition:
    - condition: state
      entity_id: sensor.webex_status
      state:
        - active
        - call
        - DoNotDisturb
        - meeting
        - presenting
    - condition: time
      after: "08:00:00"
      before: "16:30:00"
    - condition: state
      entity_id: binary_sensor.workday_sensor
      state: "on"
  action:
      - service: zwave.set_config_parameter
      #Set intensity to 10 for the LED
        data:
          node_id: 24
          parameter: 6
          value: 10
      - service: zwave.set_config_parameter
      #Set intensity to 10 for the LED
        data:
          node_id: 24
          parameter: 7
          value: 10
      - service: zwave.set_config_parameter
        data:
          node_id: 24
          parameter: 5
          value: >
                {%- if states('sensor.webex_status') == "active" -%}
                 85
                {%- elif states('sensor.webex_status') == "call" -%}
                 21
                {%- elif states('sensor.webex_status') == "DoNotDisturb" -%}
                 1
                {%- elif states('sensor.webex_status') == "meeting" -%}
                 21
                {%- elif states('sensor.webex_status') == "presenting" -%}
                 1
                {%- endif -%}
For turning it off:
 automation:
  alias: Webex Status Light Off
  trigger:
    platform: state
    entity_id:
      - sensor.webex_status
  condition:
    condition: state
    entity_id: sensor.webex_status
    state:
      - inactive
      - OutOfOffice
      - pending
      - unknown
  action:
        #There are two different states for using the LED, when the switch is on and when it is off.
      - service: zwave.set_config_parameter
        data:
          node_id: 24
          parameter: 6
          value: 0
      - service: zwave.set_config_parameter
        data:
          node_id: 24
          parameter: 7
          value: 0
This is just the tip of the iceberg for what you can now do in Home Assistant to help automate your "Work From Home" life. Combine this with the workday sensor or other related conditions and you can really create automations that make your workday more productive than ever!
Home Assistant also has an integration for Webex as a Notify component as well so you can send info from Home Assistant like sensor data or images from cameras directly to a space in Webex as well!
Taking this one step further, I've now implemented a tally light for when my actual webcam is turned on when in a Meeting (Zoom, Webex, Anything) or a Webex call. Check it out here!
Check out my other posts on Home Automation and other Smart Home technologies here!