This guide will show you how set the default recording device and adjust the input volume to achieve the best sound when using any microphone (internal or external) in Microsoft Windows 10. This guide was created using screenshots from Windows 10 1903, so your screen may look a little different, but for the most part it should look the same). If you are looking for directions for Windows 7, click here.
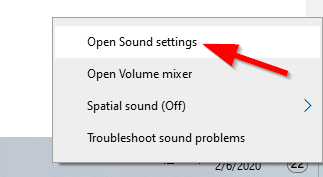
To get started, first right-click on the speaker icon in the task-bar next to the clock

In the pop up dialogue box, click Open Sound settings
This will open the Windows 10 Settings App to the Sound Tab. In the middle section, you should see Input. This is where we'll select the default device to use as your microphone.

Click the menu to select your input device.
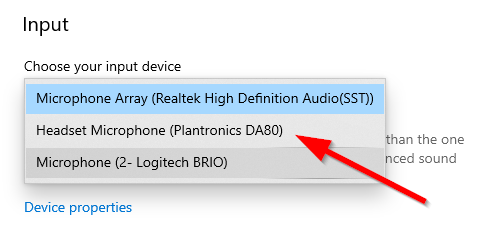
Pick the appropriate device from the drop down menu, you might need run through each of them to see which one is your active microphone. This will be the default device your computer will use for audio input and Microphone needs. You should see a level indicator move as well once the device is selected to indicate that it is working and picking up sound. This will be your default device to use for any application that requires a microphone or audio input.
There are a lot of different audio chipsets out there so you might see different device names. SoundMax HD, C-Media, IDT Audio, Texas Instruments, AC'97 Audio, Plantronics, Creative Labs, Conexant, Realtek, SigmaTel, Cirrus Logic. these are just a few names you might see. Also, if you have a webcam like I do, you may see it listed as an audio device as well which would be the built in microphone on the webcam itself. In my case, it's the Logitech BRIO which is an excellent 4K webcam that provides excellent quality in any web conferencing or video application.
Now that your default recording device has been selected and set. Let's adjust the levels to achieve optimum quality in the your application. Windows has shifted these settings around since Windows 7, so we have to do a few more clicks to find them.
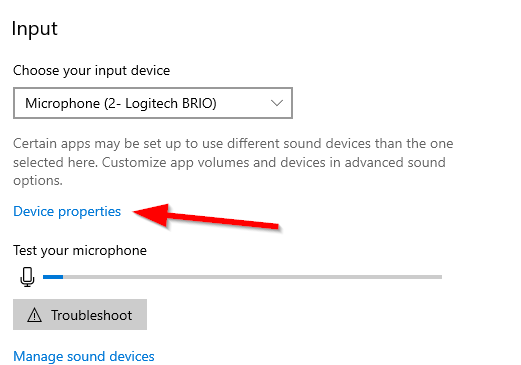
Once you selected your new default audio device, click the then click the Device Properties link below it.
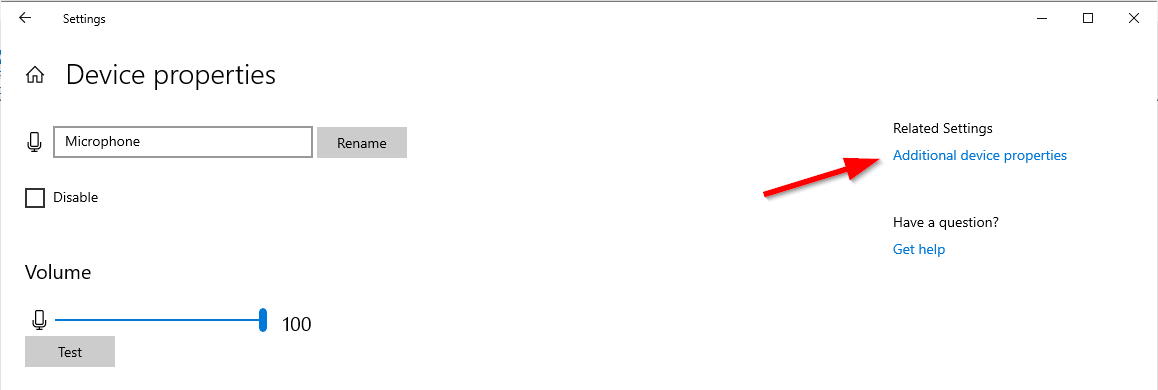
The Device Properties window will appear. You can adjust the level for the device manually here, but there's a few more hidden settings we can look at. Click the Additional Device Properties link
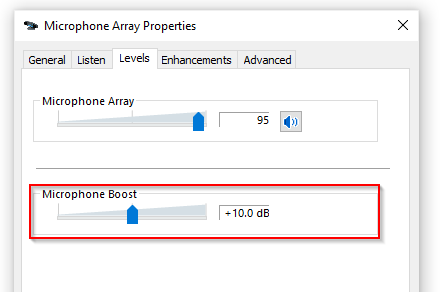
This will open up the old familiar Device Properties window and let us access some additional settings and features. Click on the Levels tab.

Some audio devices feature a Microphone Boost control. This is helpful for getting your microphone level up to normal operating levels and then can be fine tuned using the control above the Microphone Boost control.
When you're satisfied with your settings. Click Ok to save, and then you can go ahead and click the X on the top right of the Windows Settings app.