If you went on Amazon and searched for Sous Vide and found all sorts of devices and gadgets and didn't know where to begin you're in the right place. I'll help explain the basic and bare minimum equipment you'll need to get started.
Make sure to check out my post on Sous Vide 101: Getting Started for Regular People for what Sous Vide is and the basics behind why it's such a great cooking method for steak and other protein and vegetables.
Let's get started!
The Sous Vide Circulator

Sous Vide machines come in all shapes and sizes, but for the regular home chef, the Circulator is the best form factor to keep in your kitchen. They're generally compact and can fit many different vessels that you may already have. I personally have a Chefman model that I picked up on clearance when I've heard about Sous Vide and wanted to try it out. It's worked out fine for me, but it's not the most common model out there.
That said, I would recommend picking up an Anova circulator- as a company they stand behind their product and I know that when my clearanced Chefman dies, I'll also be picking up one of these. If I was just starting out, this is where I'd start.
What to look for
WiFi and Bluetooth connectivity are nice to have, but my no means a requirement. You want something with controls on the unit as well so you don't have to mess with your phone to just turn the thing on. Also the higher the wattage, the quicker the unit will heat the water up to your target temp.
The Vessel
You absolutely can use a pot you already own for your Sous Vide needs. Some people even use a modified cooler! You just need something that your circulator can attach to so the walls need to be tall enough to clip or clamp onto.
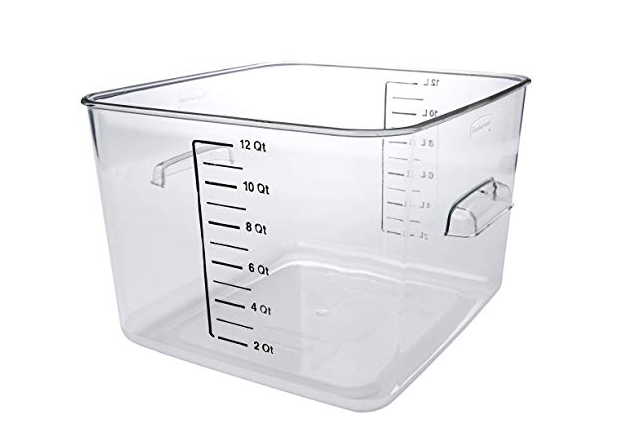
I used to use one of my stock pots before I really got into Sous Vide, but now I have a dedicated container that I use that is properly sized for my circulator and the amount of food I generally cook. It's just a simple Rubbermaid 12 Quart Food Storage Container .
That's really all you need! I usually fill it up with 6L of water and then everything works great. Get the plastic lid too and cut the corner off to allow the circulator to sit inside. Keeping it covered while cooking will prevent the water from evaporating into steam while cooking.
Vacuum Sealer
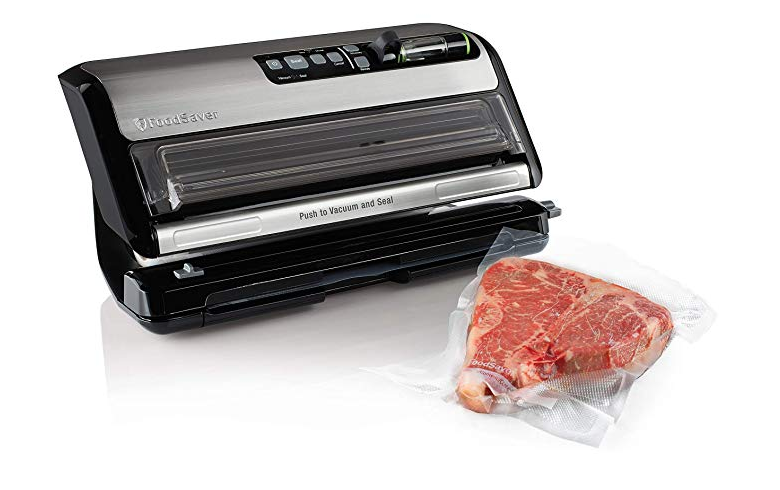
You do not need a vacuum sealer, but this really will make your life a whole lot easier and plus let you save money by buying food in bulk, sealing, and freezing for later. You can use the water displacement method with Zip Loc bags, but something to be said about taking a steak that's ready to go out of the freezer and after defrosting, just throwing it into the water bath without any fuss.
Food Saver is the go-to for vacuum sealing, the bags occasionally go on sale at Costco as well. You can't go wrong with having one of these in your kitchen anyway!
Finishing: Torch
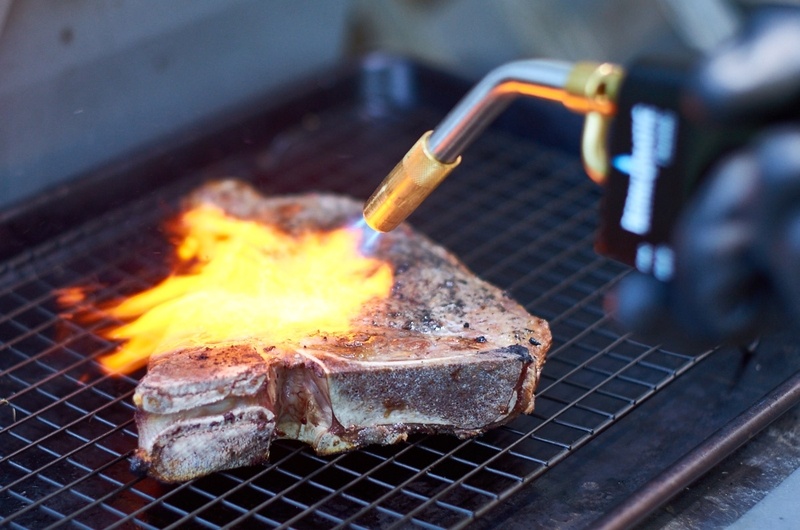
Let's be honest, using a blow torch is a lot of fun. It's an great party trick and it makes you look super cool. However it is practical as well! Using a torch really speeds up the process of heating up a pan or grill, and it makes for virtually no cleanup.
There's a lot of culinary torches out there that mainly use Butane. I would advise you skip this and use a propane torch. Propane is safe, it is the same gas you use for your grill outside and used in most food trucks and other restaurant kitchens. Butane if used improperly can leave residue leaving your food tasting strange (often referred to as torch taste) don't waste your time with these. There often under powered and won't get you the sear that you need either. You want the most heat as quickly as possible.
Go with the Bernzomatic TS8000 Seriously.
Also you'll thank me later when you need to do some DIY plumbing and you already have the equipment you need :)
Propane cylinders are inexpensive and can be found at most stores. Also sometimes called "Camping gas". I usually need to change mine once every 6 months or so.
I also would not advise the use of MAPP gas as it is not considered food safe.
Take your torch to the next level.
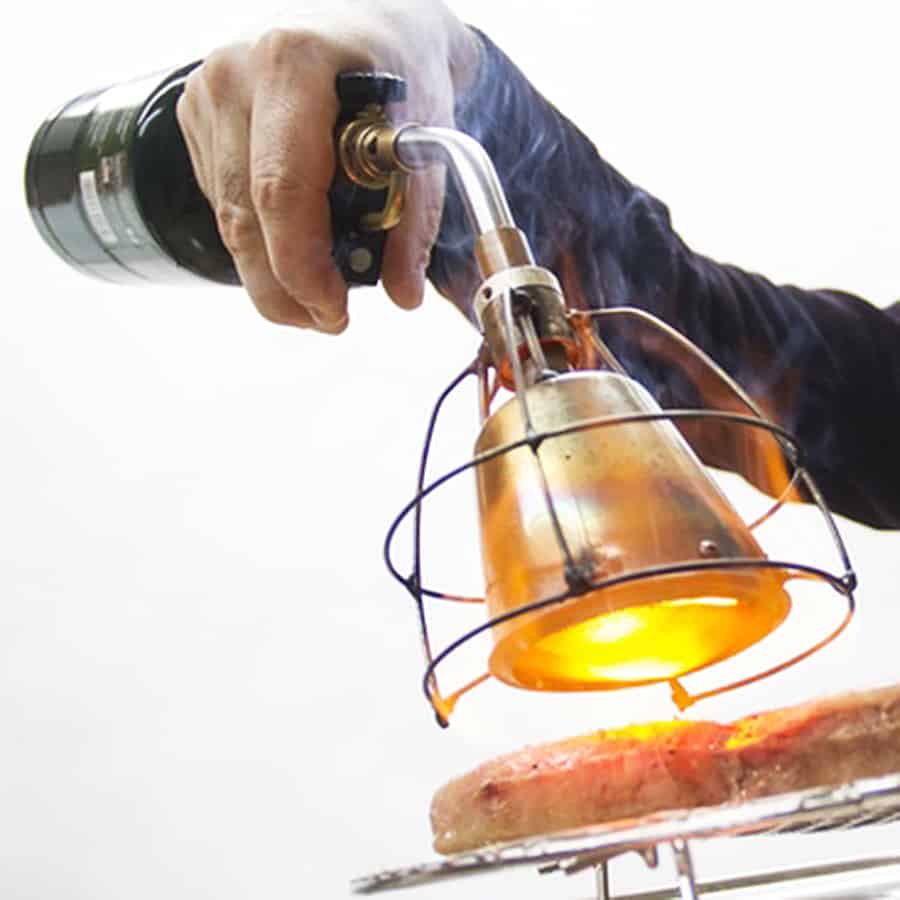
Get a Searzall. I don't think it's a requirement for Sous Vide, but it attaches onto your TS8000 and turns it into a culinary instrument and helps give an even sear on your steak. It's also incredible for melting cheese, setting the whites on an egg, or toasting all sorts of things. This is a definite must have in my kitchen.
Finishing: Pan
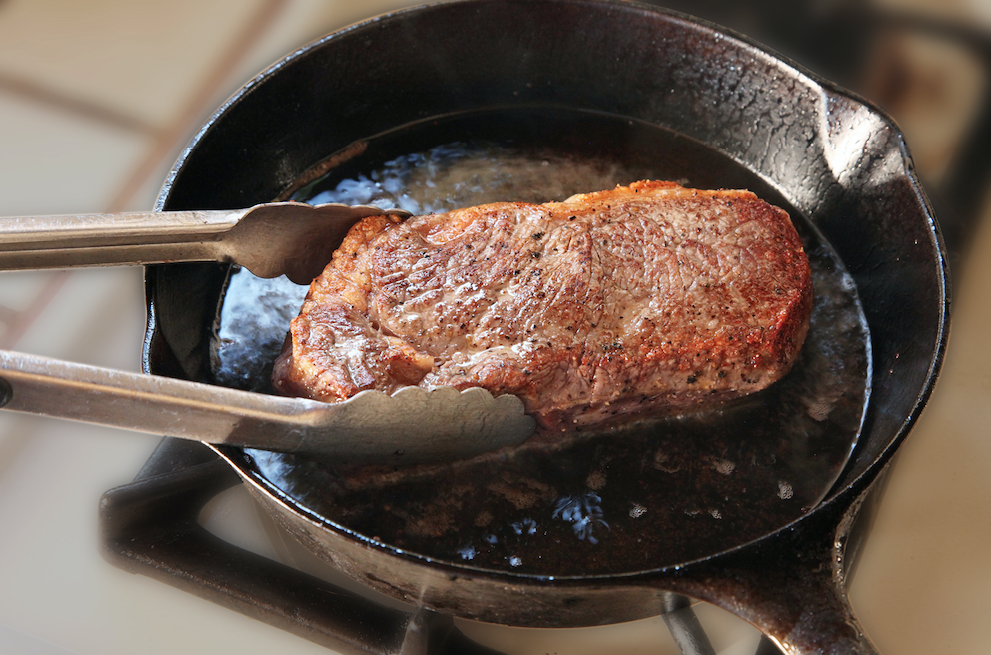
For those who like to stick with tried and true methods. A cast iron skillet goes a long way with creating the perfect sear on your steak. There's not much else to explain on this one!
I'd suggest using Avocado oil (no, it won't make your steak taste like avocado!) as it has a higher smoke point than Olive Oil. This will help produce a great sear without smoking up your kitchen!
That's about it! With a few basic items along with your Sous Vide Circulator, you'll be all ready to experience a revolutionary way of cooking!
And if you need a recap on what Sous Vide is all about, make sure to check out my first post on Sous Vide 101
