I spent some time looking for a Z-Wave sensor for my backyard gate. I didn't find much for something that was rated for outdoors and all weather so I made my own.
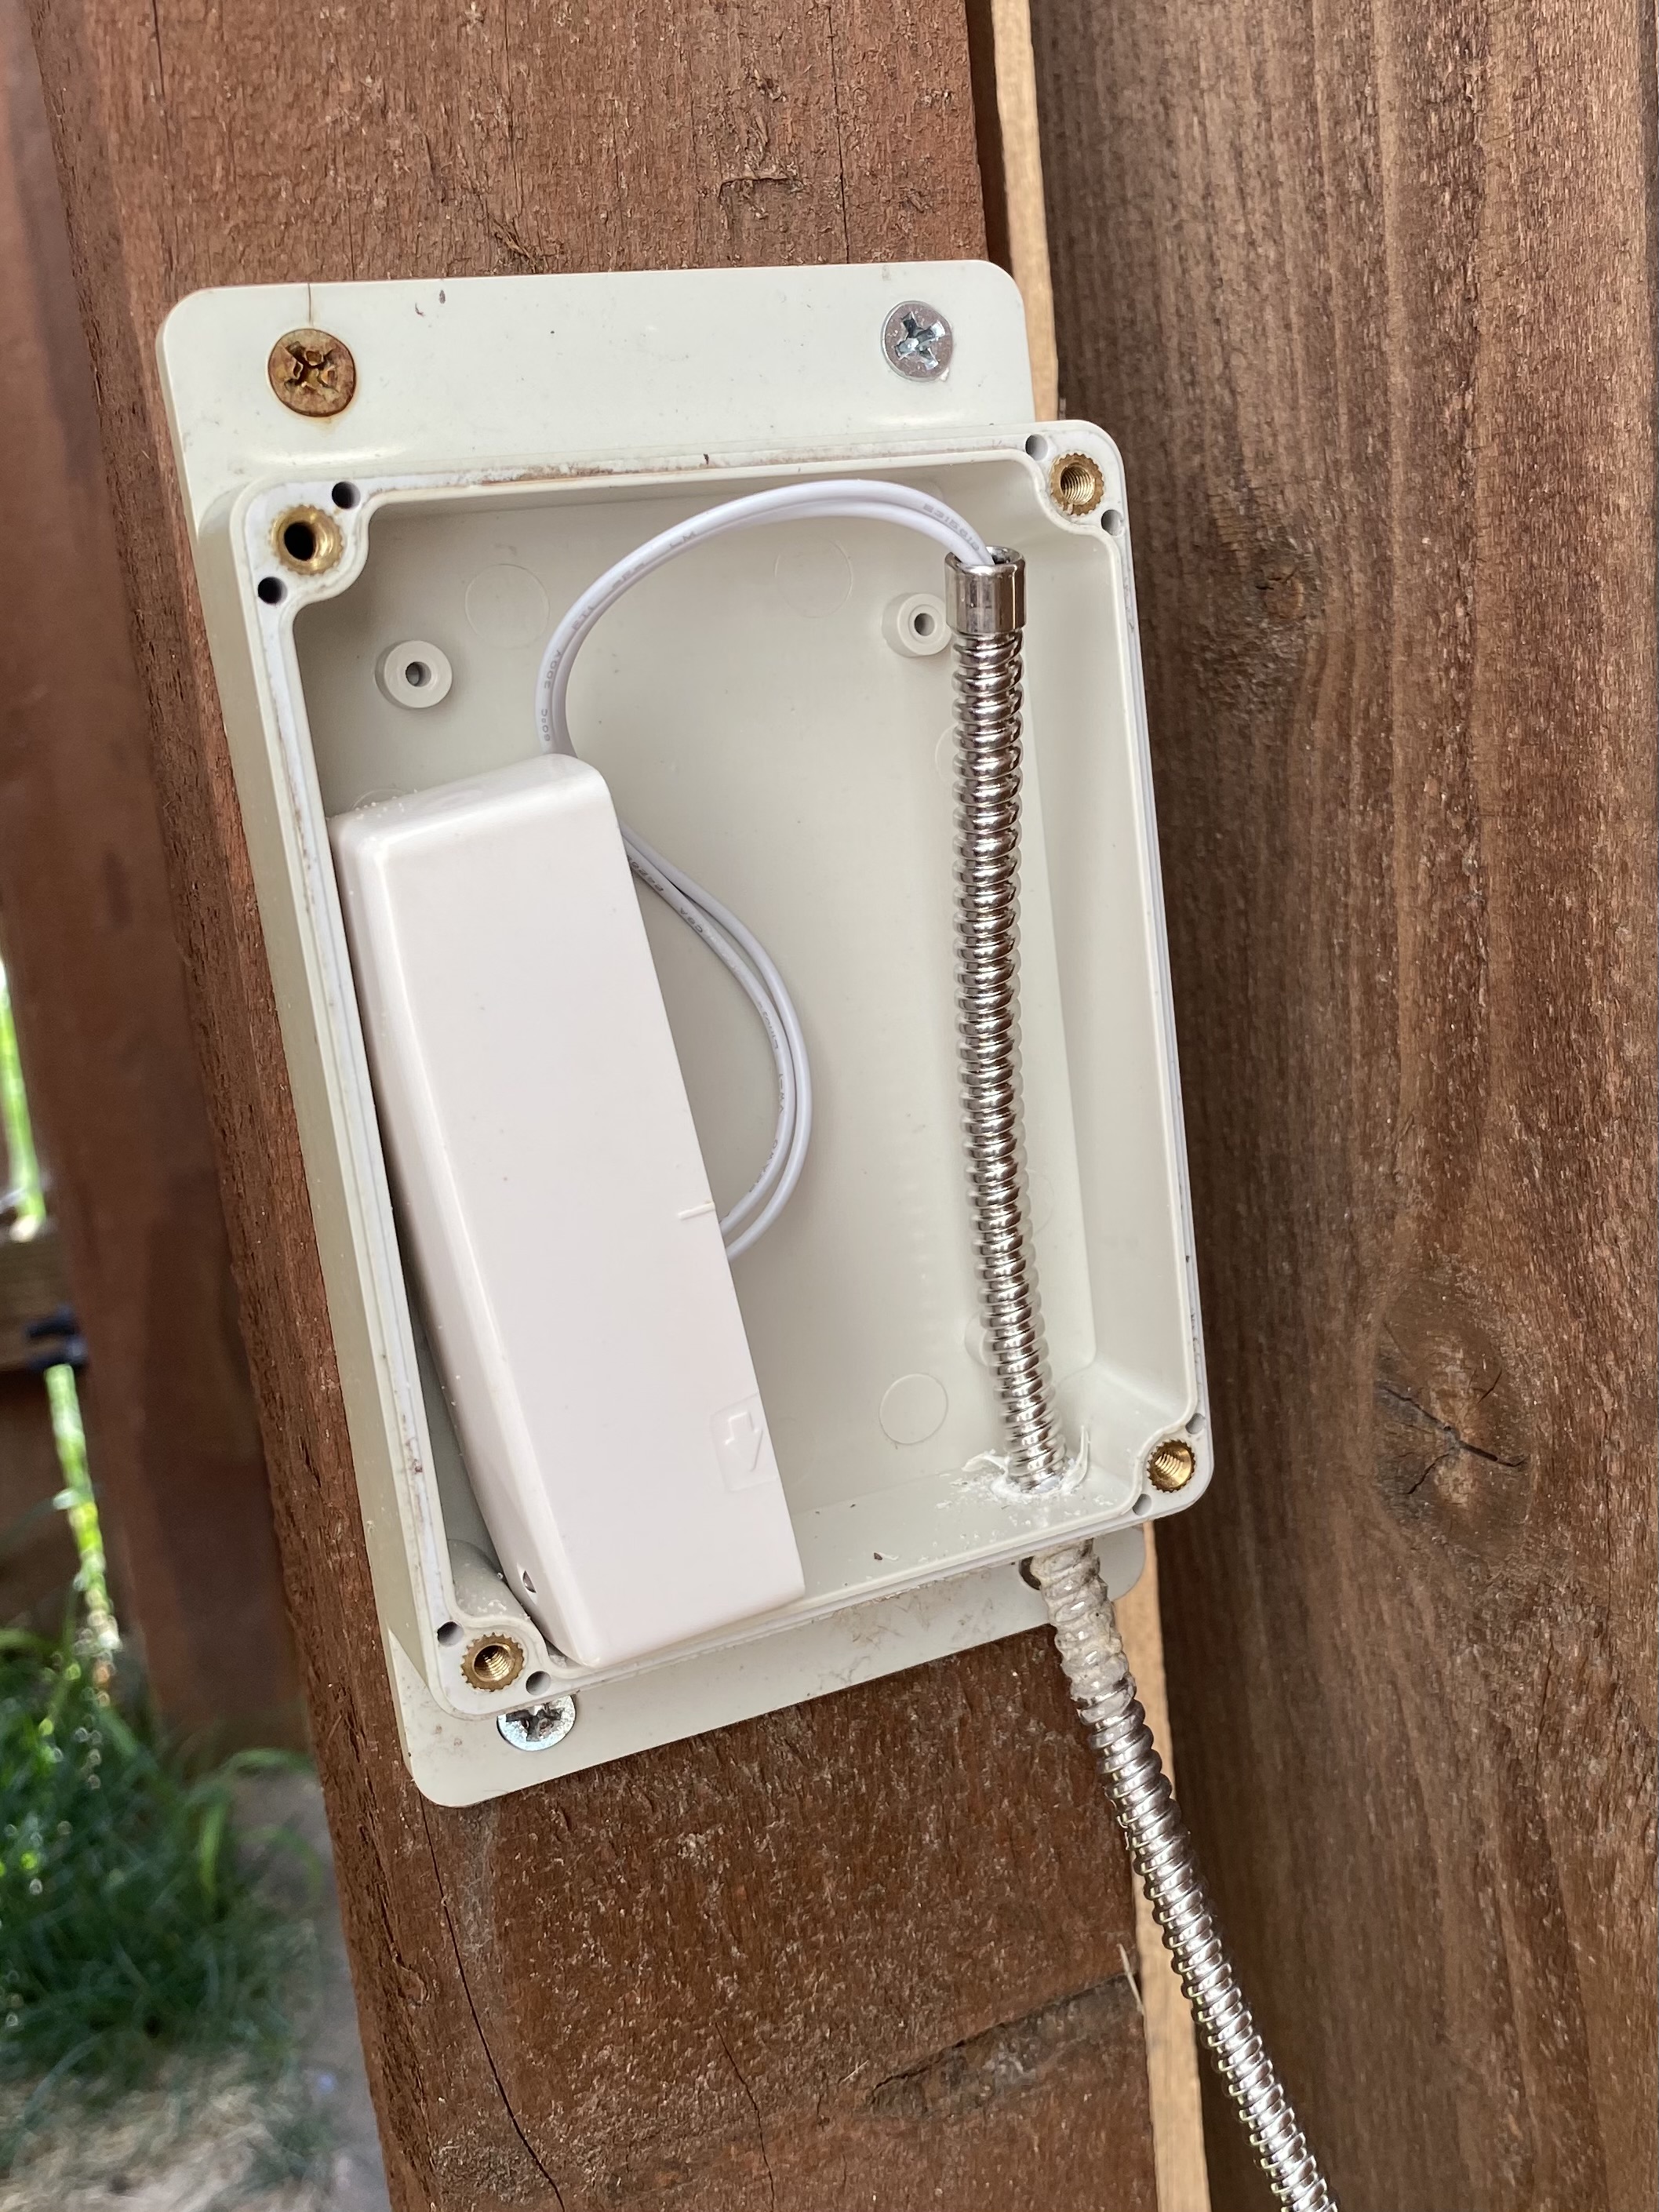
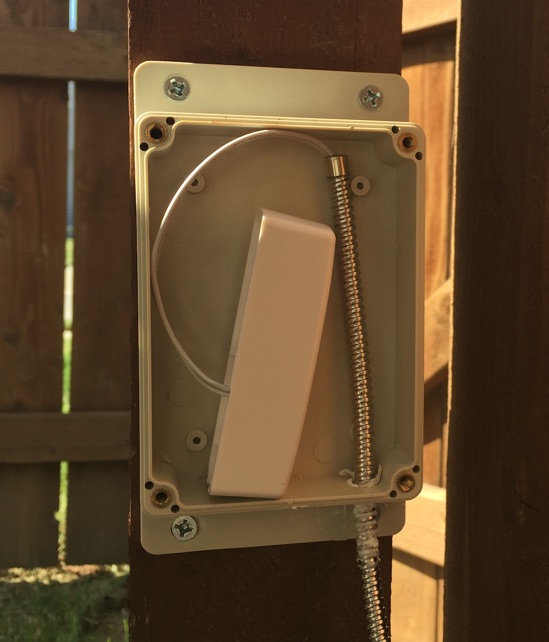
The key here is utilizing my favorite Z-Wave Door Sensors by EcoLink because they have an internal connection for wired sensors allowing you to connect almost anything to these. I was able to find a heavy duty stainless steel garage door contact sensor
and I was off and running.
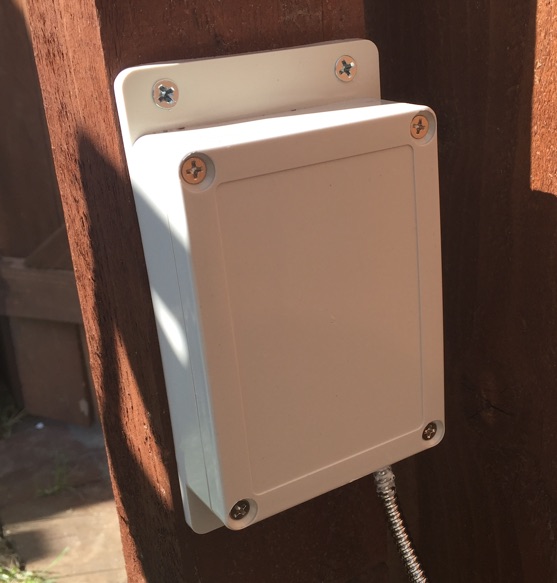
You'll want to enclose your Z-Wave Door Sensor in something that is rated IP65 or higher to protect it from the elements. I went with this sealed project box here that was just deep enough for the sensor and mounted nicely on my 4" fence post.
Drill a hole in your enclosure to pass the armored cable from the sensor and attach it to the contacts inside your Z-Wave sensor. It's a little messy, but I used some outdoor sealant to seal up the cable entrance into the enclosure.
Install the cover back onto the enclosure with the gasket seal. I like to treat it like lug-nuts on a tire and tighten each one in a diagonal fashion to ensure an even seal around the enclosure.
Mount the contact sensor near your gate opening and attache the magnet and bracket (if needed) to the gate.
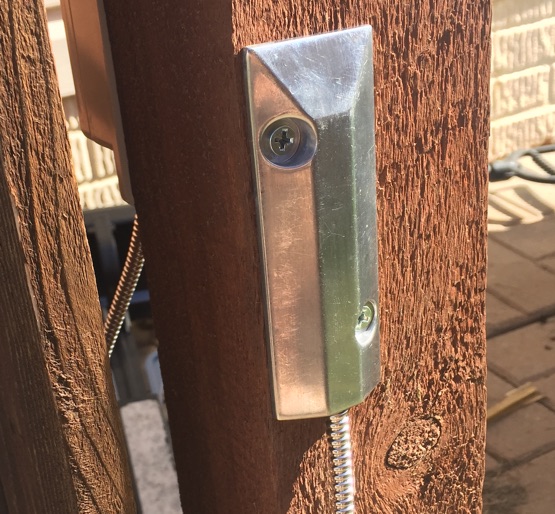
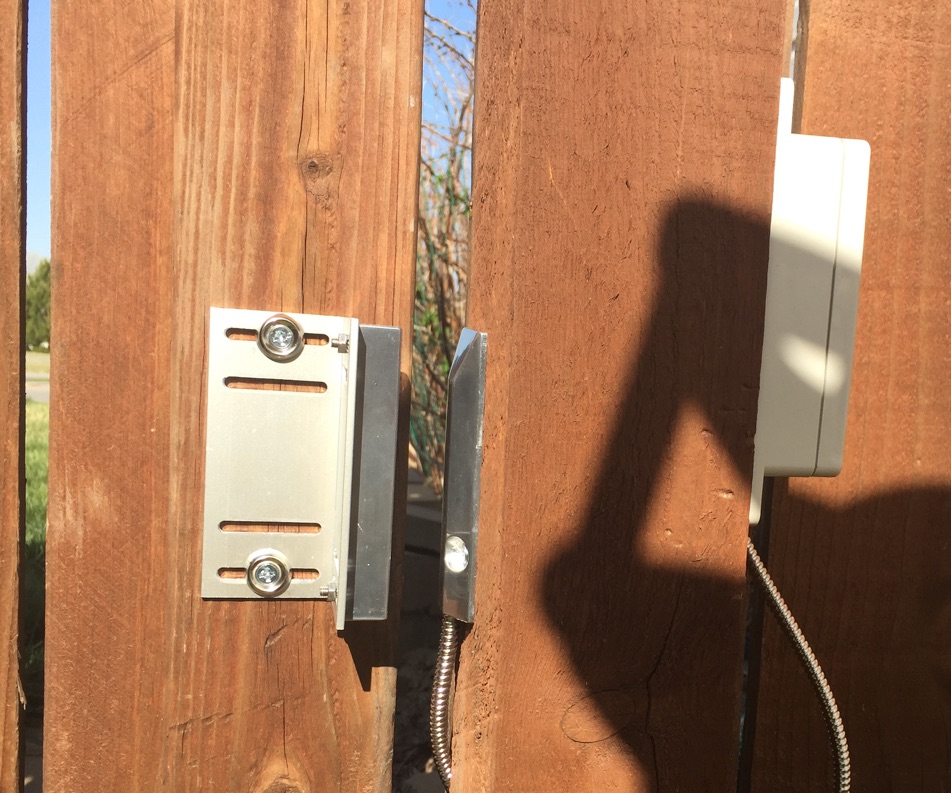
What I really like about this garage door contact sensor is that it has a 3" open gap where it will still read as closed. You can mount the magnet on the gate door in such a way that it isn't visible from the outside and it made for a very clean and covert installation.
Now the fun part, I will presume you know how to include the Z-Wave sensor in your network. I use Home Assistant for all of my home automation needs. I like to use template sensors to make my Door Sensors make a little more sense to me in the frontend:
sensor:
  - platform: template
    sensors:
      backyardgatestate:
        value_template: '{% if
        is_state("binary_sensor.ecolink_doorwindow_sensor_sensor_14_0", "off") %}
        Closed
        {% else %}
        Open
        {% endif %}'
        friendly_name: 'Backyard Gate'
And now we can create automations based off of the gate such as an alert notification or turning on some exterior lighting in your backyard!
automation:
  alias: Notify iOS app backyard gate was opened
  trigger:
    platform: state
    entity_id: binary_sensor.ecolink_doorwindow_sensor_sensor_14_0
    to: 'on'

  action:
    service: notify.ios_iphone
    data:
      message: "Backyard Gate is open!"
      data:
        attachment:
          content-type: jpeg
        push:
          category: camera
        entity_id: camera.backyardcamera
Hope this helps someone out! Sometimes it's very easy to build it when a specific device does not exist!
Check out my other posts on Home Automation and other Smart Home technologies here!
Update - 8/14/2021
It's been about 3 years since I wrote this post on using this Z-Wave Door sensor for your backyard gate. This past week I noticed the gate sensor was not functioning and showing closed even when it was opened. Today I took a few minutes to inspect and change out the battery. Sure enough the CR123a lithium battery was dead.
I simply swapped it out with a fresh one and closed the box back up. The sensor is reporting correctly again in Home Assistant.
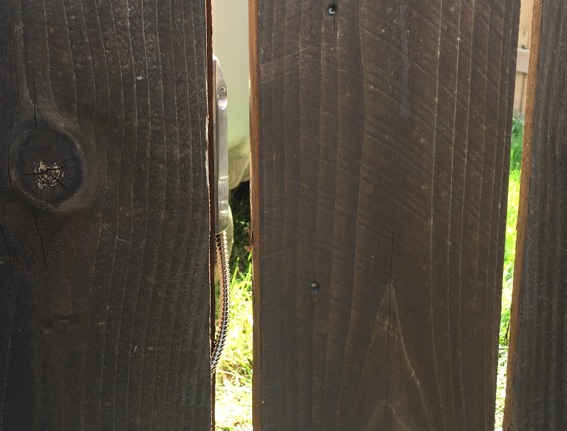
Here's a picture after 3 years of exposure to rain, snow, sun, thunderstorms, polar vortexes and heat waves. This project box has held up incredibly well and still seals up nicely. (Picture taken after battery was replaced, it's flipped around from how it was installed). As you can see- the only issue I've had has been rusted screw heads- please use weatherized hardware as needed for your climate!